Author: Ancy Thomas
Original post on Foojay: Read More
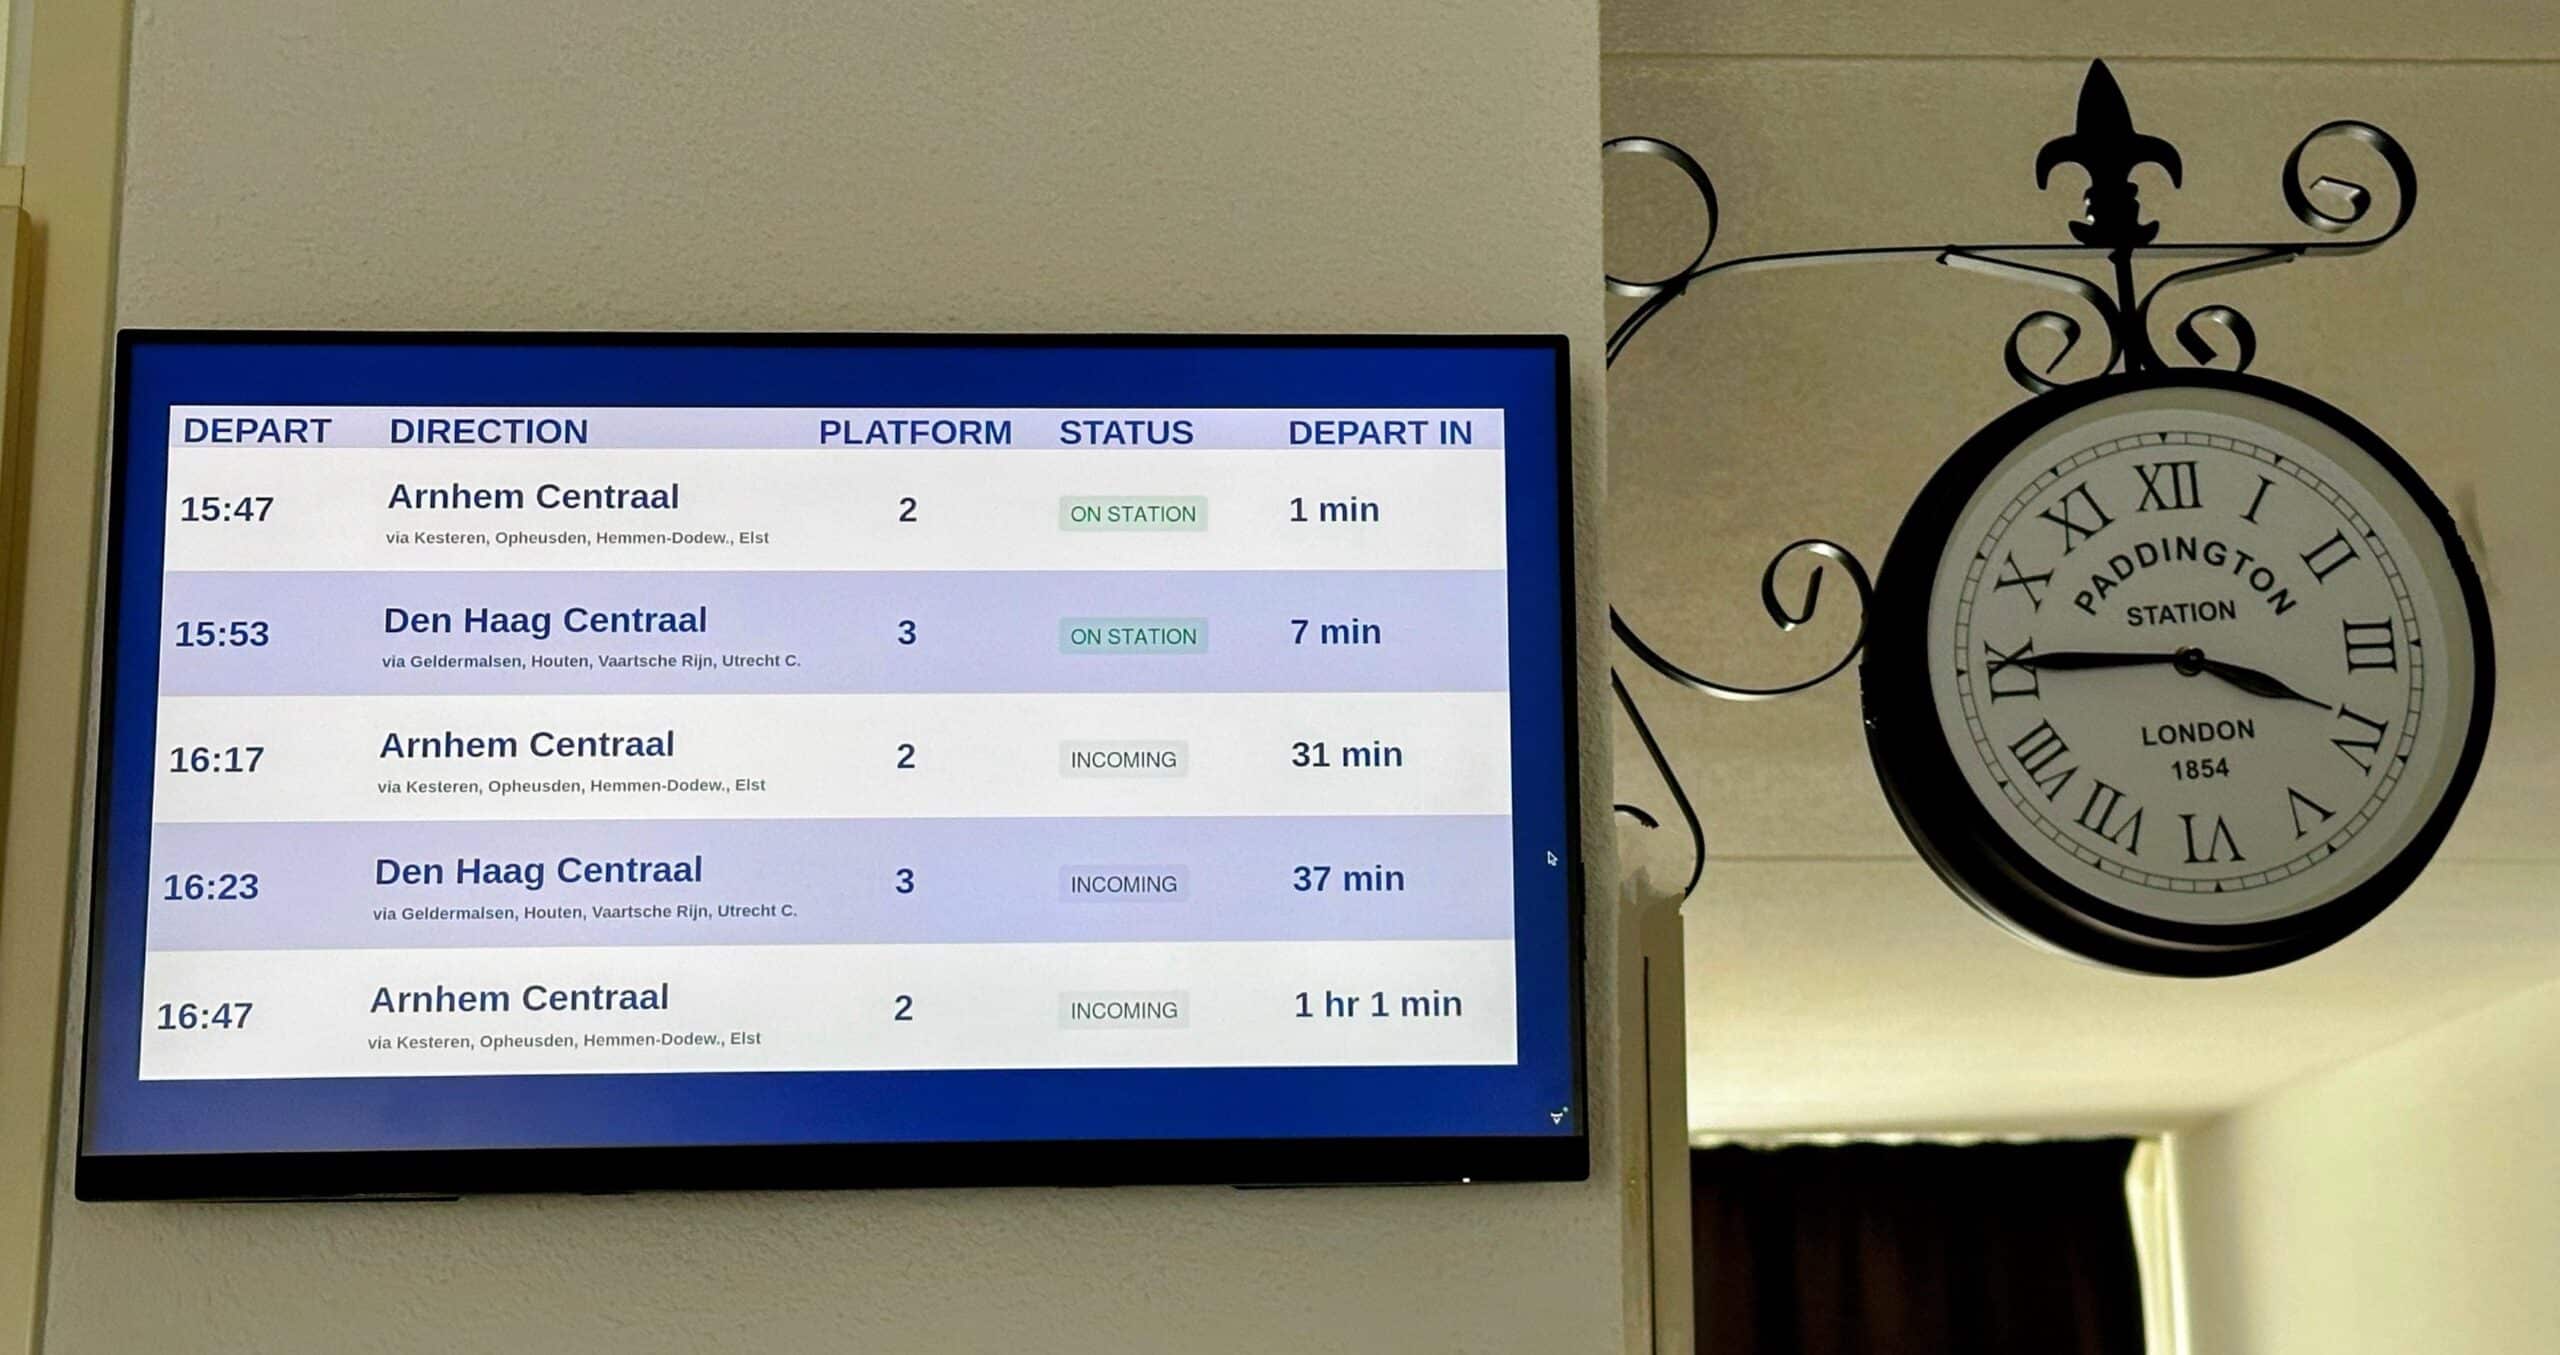
Have you fancied to have your own railway display at home? If you love traveling by public transport and always jump on the train just before the door closes like us, it’s really cool and highly efficient to have your own personalized display.

Background
Without live data, this project could not work. Luckily, all the data we needed was publicly and freely available with Nederlandse Spoorwegen (NS) APIs. To access them, you only need to create an account in the NS API Portal and subscribe to the APIs you want to use.
For the application’s backend, we decided to use Java, Jakarta EE, and SpringBoot. For the front end, we chose Vaadin because it is closely related to Java and is perfect for our simple screen. We used Raspberry Pi 4 and our existing monitor as the hardware for our project.
Implementation
1. Setting up the backend
We used Jakarta WebTarget to connect to the Departures API from NS, which requires the query parameter ‘uicCode’, an international unique identifier for railway stations. Stations in Netherlands have a UIC code that starts with 84 (e.g., 8400058 for Amsterdam Centraal).
Sample code for connecting to the NS API using WebTarget
private Response getTrainsInfo(String stationUicCode) {
  return webTargetProvider.getWebTarget(getUri(stationUicCode)).request()
    .accept(MediaType.APPLICATION_JSON)
    .header(HttpHeaders.CACHE_CONTROL, "no-cache")
    .header("Ocp-Apim-Subscription-Key", subscriptionKey)
    .buildGet()
    .invoke();
}

private URI getUri(String stationUicCode) {
  return UriBuilder
    .fromUri(baseUrl).path(uriPath)
    .queryParam("uicCode", stationUicCode)
    .build();
}
The required data from the API response was captured as TrainInfo with the following fields.
public record TrainInfo(String direction,
  String plannedDepartureTime,
  String actualDepartureTime,
  String actualTrack,
  String trainCategory,
  String routeStations,
  String departureStatus,
  boolean isCancelled)
2. Building the view
We used the Grid component from Vaadin flow. Vaadin Grid is a simple component for displaying tabular data with different rendering options. Renderers like Component Renderer or Lit Renderer can then customize the content displayed in specific columns.
public MainView(TrainDepartureService trainDepartureService) {
  grid = new Grid<>();
  var trainDepartures = trainDepartureService.getDepartureInfo();
  grid.setItems(trainDepartures);
  grid.addThemeVariants(GridVariant.LUMO_ROW_STRIPES);
  grid.addColumn(createPlatformRenderer()).setHeader("PLATFORM");
  grid.addColumn(createStatusRenderer()).setHeader("STATUS");
  add(grid);
}
We have experimented with both to show data in the columns. Lit Renderer offers quick rendering but requires writing HTML code. Components can be used in Lit Renderer through their custom HTML tags. Component Renderers are easy to build but slow to render, as they generate a component for each item in the dataset for a given column.
Sample code for Lit Renderer
private static Renderer<TrainDeparture> createPlatformRenderer() {
  return LitRenderer.<TrainDeparture>of(
    "<vaadin-horizontal-layout style="align-items: center;" theme="spacing">" +
    "<span part="platformStyle"> ${item.actualTrack} </span>" +
    "</vaadin-horizontal-layout>")
    .withProperty("actualTrack", TrainDeparture::actualTrack);
}
Sample code for Component Renderer
private static ComponentRenderer<Span, TrainDeparture> createStatusRenderer() {
  return new ComponentRenderer<>(Span::new,
    (span, trainDeparture) -> { span.setText(trainDeparture.status().name()); });
}
3. Styling the View
Finding the right color and font was the trickiest part. Luckily, there are websites that can help you find the exact RGB code by uploading your image and zooming over it.
There are also a few sites that can extract the different fonts used in your image, but be aware that the fonts suggested might not always be readily available or compatible.
4. Scheduled refresh
To show the updated information on screen with an interval of one minute, we used the combination of scheduler from Spring Boot and Push function from Vaadin
// executed at the start of every minute.
@Scheduled(cron = "0 * * * * ?")
public void updateGrid() {
  var trainDepartures = trainDepartureService.getDepartureInfo();
  getUI().ifPresent(ui -> {
    if (ui.isAttached())
      ui.access(() -> grid.setItems(trainDepartures));
  });
}
Vaadin Server push is based on a client-server connection established by the client. The server can then use the connection to send updates to the client. We have used the @Push annotation on the application class to enable server push.
@Push
@EnableScheduling
@SpringBootApplication
public class Application implements AppShellConfigurator {
  public static void main(String[] args) {
    SpringApplication.run(Application.class, args); }
}
5. Setting up the Raspberry Pi 4
We used Raspberry Pi Imager to install the Raspberry Pi OS and SDKMAN to install Java 17. To run the NS application on the Raspberry Pi, we created a fat jar file and started the application by executing the JAR file. For additional debugging within the Raspberry Pi, we used the already shipped VSCode.
Conclusion
In this project, we explored Java, SpringBoot and Vaadin to create a UI application seamlessly.
Vaadin wrapped many complexities in annotations like @Push or the Component Grid frameworks.
It was truly amazing to develop and run this application on Raspberry Pi 4.
Finally, it’s not so much about technology as about the basic human need to solve problems and the curious mind that gets creative with every challenge.
If you would like to know more about our project, please check out https://github.com/Rijosam/NS-home-display
References
- NS API Portal: https://apiportal.ns.nl/
- SDKMAN: https://foojay.io/today/installing-java-with-sdkman-on-raspberry-pi/
- Vaadin Docs: https://vaadin.com/docs/latest/overview
- RBG Color Picker: https://imagecolorpicker.com/
- Font Finder: https://www.myfonts.com/pages/whatthefont
The post Crafting Your Own Railway Display with Java! appeared first on foojay.
 NLJUG – Nederlandse Java User Group NLJUG – de Nederlandse Java User Group – is opgericht in 2003. De NLJUG verenigt software ontwikkelaars, architecten, ICT managers, studenten, new media developers en haar businesspartners met algemene interesse in alle aspecten van Java Technology.